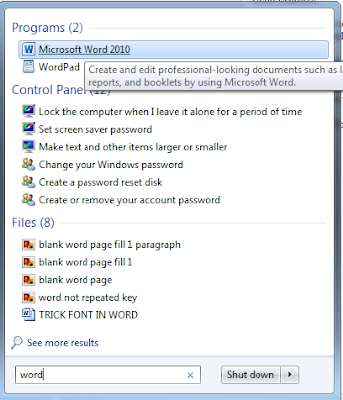
Hello Learners, I'm here with some new technical tips and tricks that will help you to increase your knowledge and for working or doing your task efficiently. In the MS-Word there is a hidden tricks by using that you can easily write any number of paragraphs you want. Here I will show you to write any number of paragraphs by using this trick. Steps are followed below: Step 1: Open MS - Word . Fig. 1 Open MS-Word Step 2: Now, MS - Word will Display . Fig. 2 MS-Word Displaying Step 3: Enter the code or Put the Code and press Enter key. Fig. 3 Write the Code Step 4: Now, See the Output or Result . Fig. 4 Paragraph Displaying Here, the code is written in Fig. 3 that has a meaning and it says how many numbers of the paragraphs and how many number of the sentences is want to write down. The code =rand(2,5) is say that write down the 2 paragraphs and each should include the 5 Sentences. By using this method you can writes any number of par...


Good
ReplyDeleteIt's tricky sir i have learn from here and apply on my computer.
ReplyDelete